Google Drive is a storage space that provides you with the eligibility to store your data at the cloud server& completely safe and secure. But you can only access your saved data when you are online. When you don’t have your internet connection& you will not be able to access your data from your drive& which is a major problem. To solve this issue& Google has provided you a benefit where you can use Google Drive for desktop. Here& in this guide& you will find how you can use Google Drive for your desktop in detail.
Table of Contents
Part 1: What is Google Drive for Desktop?
Google has already provided that you can’t enjoy Google Drive's full power until and unless you download the desktop app. For desktop personal computers& Google Drive is capable enough to directly integrate with this operating system that makes it look like another location in your system. This Google Drive folder can be easily found in windows explorer under the user account option. There you can see all the list of files and folders inside your Google Drive.
Now& the files and folders you have already stored in the cloud server using Google Drive will automatically be downloaded into your system. Apart from this& any files and folders you will be further created in your system will be directly uploaded on the same cloud server. So& basically& you are going to enjoy the benefit of two-way synchronization.
Here in the local Google Drive folder& you will view all the documents in .gdoc format& which states that these are just links to your online saved documents in Google Drive. You need to double-tap on any of these links for viewing these documents& and they will directly open through your web app in the browser window. Now for viewing these files in your local system without internet& you have to make a few changes in your Google Drive to enable these files for offline view. You can change this setting by directly going to Google Drive’s Preferences.
Part 2: How to Use Google Drive for Desktop?
Step One: Downloading and Installation of Backup & Sync Feature
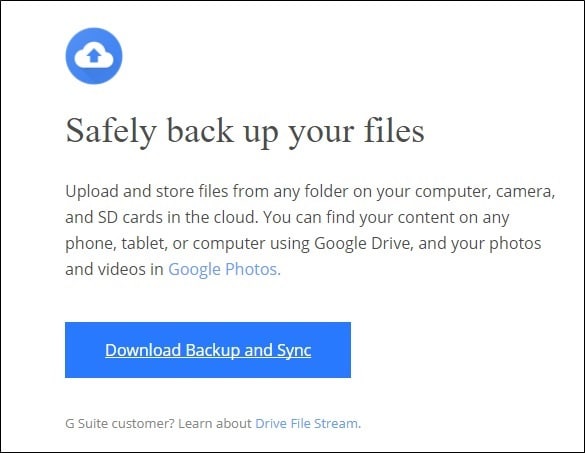
Here& first of all& you are required to download the Backup and Sync tool in your windows system& which will move to Drive for Desktop this year later. But before downloading& make sure you are picking the appropriate tool as per your system& as it could be Mac or pc. If Google Drive is already installed& you still need to worry as the new downloaded Google Drive tool will automatically replace the previous one. So& no un-installation will be further required.
The Google Drive tool will be downloaded very fast& so you will be immediately required to launch the installer after the downloading process has been finished. Here if you are using the google chrome web browser& which you should be using& tap the download button showing on the bottom of your page.
When you tap the download button& it will take a few seconds to install the Backup and Sync feature in your system. And when this process finishes& your system will automatically ask for a restart. So& you can restart your system& but if you don’t do this& then it's still going to be fine as your system is not going to be corrupted for sure.
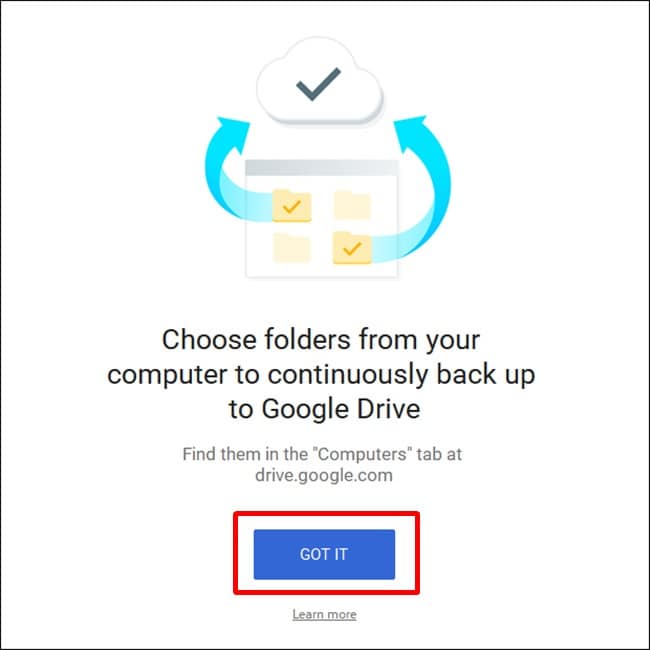
Further& if Google Drive was already installed in your system& then this Backup and Sync tool will automatically log in to your Google Account. And if it is not the case& then you have to do this manually. And after completing the login& you will immediately be able to see the quick splash screen on your system& where you will get to know all about your backup and sync tool app. Hereafter& simply press the ‘Got it’s a button and enter into the app.
Step Two: Choosing Folders For Synchronization From Google Drive
If you have already finished installing this backup and sync tool& it’s time to understand how to use it. So& when you enter into this& you will be able to find that the Backup and Sync tool is split up into two main sections:
- Google Drive Section: In this folder& you can manually choose which of your folders already presented in your Google Drive at cloud storage must be synchronized with the Google Drive folder on your local system. Any folder you are going to put in this folder will be automatically synced to Google Drive.
- My Computer Section: This folder directly allows you to synchronize your files between your desktop and Google Drive. You are not required to put those files and folders separately in the dedicated Google Drive folder. All you need to do is choose the folder from your system& and they will be automatically synchronized with your cloud storage server. They will appear in the drive interface's separate location instead of in the same location with all other Google Drive files.
Now& let's talk about the Google Drive section& which is very easy and simple to use and comparatively much familiar for the person who has already used Google Drive previously. Here& you are going to have a few options& which are given as follows:
- The first option is ‘Sync My Drive to this Computer’ to enable or disable the synchronization feature for your Google Drive with your computer.
- The second option is ‘Sync Everything in my Drive’& which literally authorizes you to synchronize the entire content of your drive with your computer.
- Then there is a third option available as ‘ Sync Only These Folders’& which allows you to specifically choose your folders required to be synchronized from your drive to your computer system.

Apart from this& another section known as the ‘My Computer’ section allows you to choose the other folders on your computer system to sync. Now here you already have options like Desktop& Downloads& Documents& and Pictures& etc. which are given with a check box in front of each. So& all you need to do is click the box given next to the option for backing up everything from that entire location to your Google Drive.
If you are not willing to synchronize the entire location& you only have to tap on the ‘Choose Folder’ option. Then& directly jump to that folder you would like to back up in your system and click on the ‘Select Folder’ option.
Here& one thing must be noted that the files you are synchronizing from the outside of your Google Drive folder will not show up in Drive alongside all other files. Now for accessing those files& you can directly open Google Drive in your browser window and then click on the ‘My Computers’ option displaying on the left side under Menu. Further& the same option could also be found in the Google Drive Mobile apps.

Part 3: Use InClowdz to Manage Multiple Cloud Storage
Inclowz is software that helps you in managing your data that is already stored at different cloud servers. This platform provides you one-stop center for transferring& synchronizing& and backing up your data from different cloud servers. With the help of InClowdz& you can easily transfer your files and folders& and you can avail this for free of cost. Further& it doesn't even need you to be available online as it transmits the whole data on its own. Now& for utilizing the InClowdz software for managing your multi-cloud storage servers& you can follow the given steps:
Migrate, Sync, Manage Clouds Files in One Place
- • Migrate cloud files such as photos, music, documents from one drive to another, like Dropbox to Google Drive.
- • Backup your music, photos, videos in one could drive to another to keep files safe.
- • Manage all cloud drives such as Google Drive, Dropbox, OneDrive, box, and Amazon S3 in one place.
- • Sync clouds files such as music, photos, videos, etc., from one cloud drive to another.
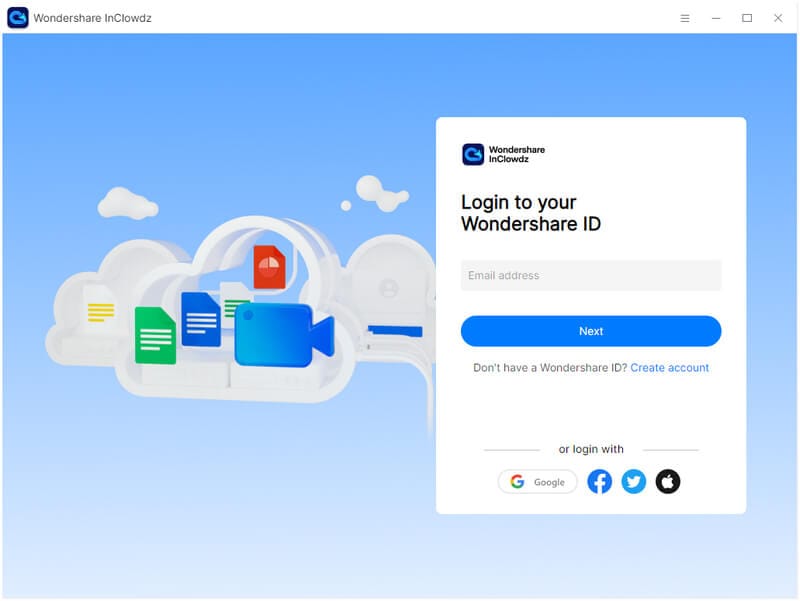
- First of all& you have to download the Wondershare InClowdz software in your system.
- After completing the download& create an account on InClowdz software for free.
- Now jump to the ‘Management’ Tab displayed on the left side and press the ‘Add’ button.
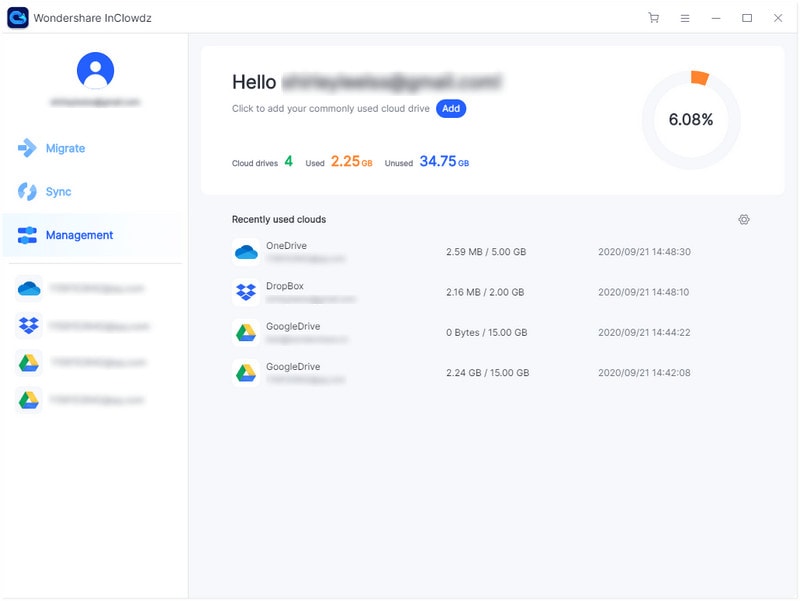
- Then pick your cloud storage server and press the ‘Authorize’ button.
- After this& go to the ‘source’ option from where you want to transfer your data.
- Then directly go to the ‘transfer’ for choosing the destination account.
This way& you will be able to transfer your data from one drive to another while using the Wondershare InClowdz software.
Bottom Line:
Here we have provided the complete guide regarding how you can use Google Drive for your desktop system in the above guide. We have mentioned the detailed steps for downloading and using the Google Drive app in offline mode. Apart from this& you can also check Wondershare InClowdz software's utilization for managing your data on the cloud at one single location.


 100% Secure