
Do you know what the greatest concern of almost every person in the 21st century is?
It is the management and handling of your data. You are all set to play safely in the technical world if you know how to manage and safeguard your data.
When it comes to photos& no other tool than Google Photos serves the purpose in the most efficient manner. The photos of your concern can be of personal or professional importance to you.
You can very easily access photos on any device by using Google Photos. The best use of this tool is when you want to replace your phone with a new one. You can easily transfer photos from the old phone to the new one using Google Photos.
Here is another situation in which Google Photos serves no less than a lifesaving tool.
What happens when you lose your phone? Don't Worry. Your photos are always safe! You can also access the photos from a lost or damaged device by using this tool.
Before moving towards transferring the photos& let us have a quick insight into what are Google Photos?
What are Google Photos?
To break the meaning of Google Photos most easily is by saying that Google Photos is a backup service provided by Google. It is important to mention that it is the best service available to sync and save your photos.
This tool's best part is that it provides unlimited storage for photos up to 16 megapixels and videos up to 1080p resolution. It organizes your photos into three categories& which are People& Places& and Things. The computer version of this app identifies pets as well!
You can easily access the photos saved on your Google Photos app on any other device. Isn't it simply amazing?
Now& an important question here is how to use Google Photos? The main purpose of Google Photos is to provide access to your saved photos. This can be the case when you buy a new phone& or in case you lose or damage your old phone. You can easily access your photos using this amazing tool.
This article is all about how to transfer photos from google photos to your gallery.
Table of Contents
Part 1: How to transfer photos from Google Photos to the gallery on Android phones?
Are you looking for means to safeguard your photos before changing your mobile phone? This article is for you!
Management and handling of your photos before changing your Android set is a straightforward process. As mentioned above& this is also helpful in case you lose or damage your phone. Thanks to technology for saving the precious data in case of such unfortunate events. In this section& you will learn how to use Google Photos to transfer photos on an Android phone.
Here is a simple step by step guide on how to move pictures from google photos to the gallery using an Android phone.
Step 1 Open Google Chrome on your Android. Sign in with the Gmail account in which you have saved the photos.
Step 2 Install the app 'Google Photos' on your device. Open the Google Photos app on your mobile.
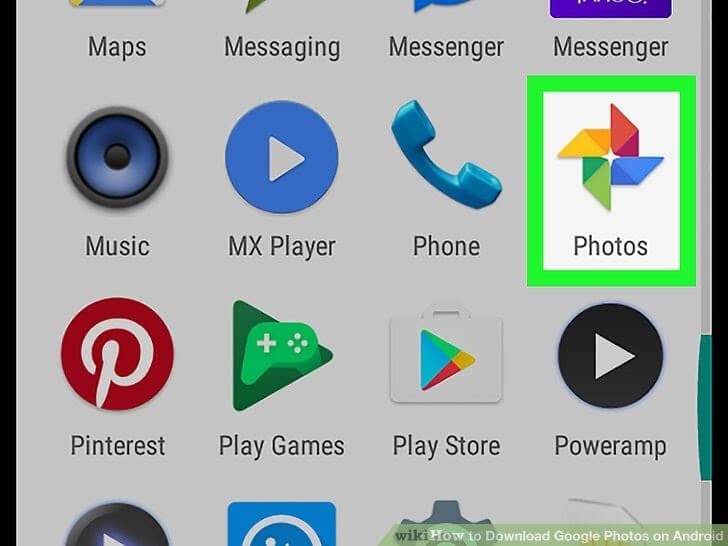
Step 3 Make sure to sign in with the same Gmail account from which you want to access photos. Click on the 'Photos' option.
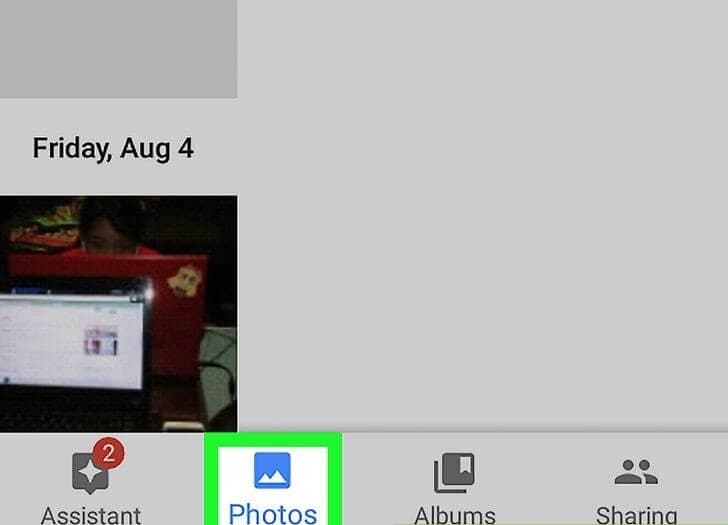
Step 4 A new window containing all your photos saved in Google photos will open. Select the photo that you want to transfer.

Step 5 After selecting the photo& press on three vertical dots on the top right corner.

Step 6 Select the 'Save to decide' option from the drop-down menu that appears after clicking on three dots.
You can also save multiple photos to your device using this method. To transfer multiple photos& select multiple photos& and click on the Download option in the three vertical dots' drop-down menu.
All your photos will appear in your phone's File Manager.
Part 2: How to transfer photos from Google Photos to the gallery on iPhone?
You might wonder how to sync your photos or your precious memories on a new iPhone. You don't have to go through the lengths of the internet to have your old photos on a new iPhone. With the advancement in technology& it has become very simple to sync your photos through the service of Google Photos. In this section& you will learn how to do this task.
It is more than easy to transfer photos from any device to your iPhone.
All you need is a simple step guide to transfer photos from Google photos to an iPhone.
Here is a simple step by step guide on how to transfer google photos to the gallery using an iPhone.
Step 1 Go to the app store and search Google photos in the search bar. The icon for the Google photos app will appear. Install the google photos app on the iPhone.
Step 2 Open the app& accept the terms and conditions& and access your phone's photos.
Step 3 Login with the account in which you have saved the photos.
Step 4 You will find all your photos and videos in your Google photos.
Step 5 Select the photo you want to transfer to the gallery. Click on three dots on the top right corner.
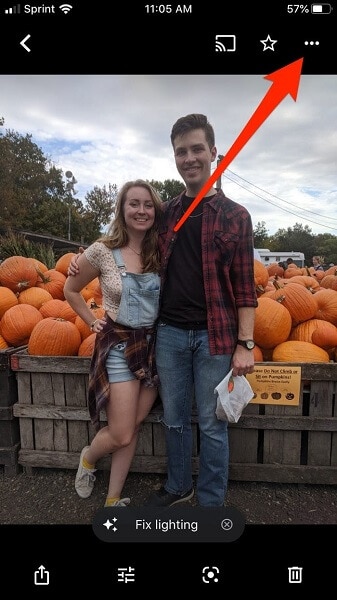
Step 6 Click on the 'Save to Device' option after clicking on three dots.
Your photo will be saved in the iPhone camera roll.
Step 7 You can also save multiple photos in this way. Select the photos you want to transfer and click on the Download option.
Part 3: How to transfer photos from Google photos to the gallery using a computer?
Do you wish to safeguard the photos on your mobile permanently? Do you want a well-organized section of your memories? You can easily do so by transferring those photos of your mobile to your computer.
This section is all about transferring your Google Photos to your laptop or computer.
You can also access the photos of a lost mobile phone by transferring them to your computer. All you need is the email account on which you have saved the photos. No big deal. Right?
In this section& you will learn how to transfer photos from Google Photos on a computer.
Here is a simple step by step guide on how to move pictures from google photos to the gallery using a computer.
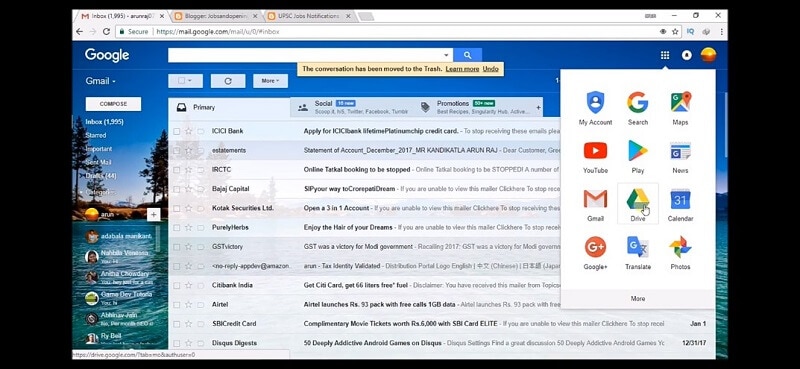
Step 1 Open Google Chrome on your computer. Sign in with the email account in which you have saved the photos.
Step 2 Click on the Google Drive option.
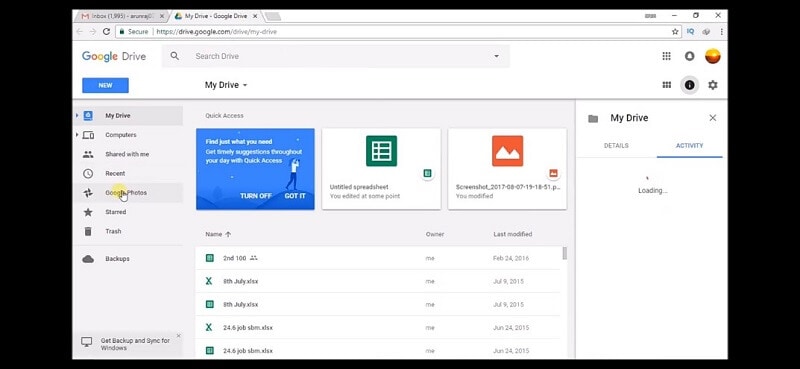
Step 3 In Google drive& select the Google Photos on the left side menu on the screen.
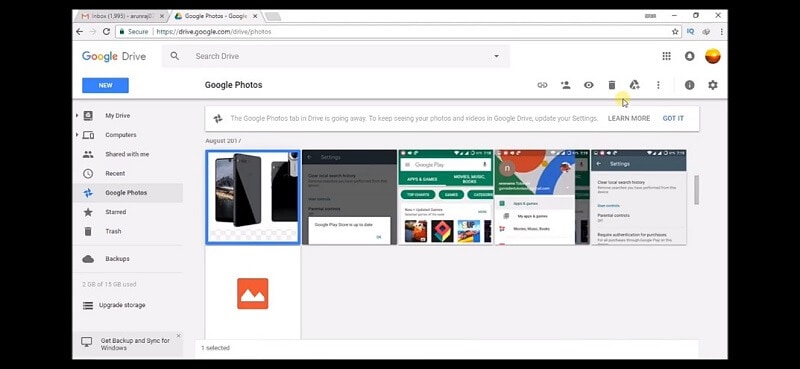
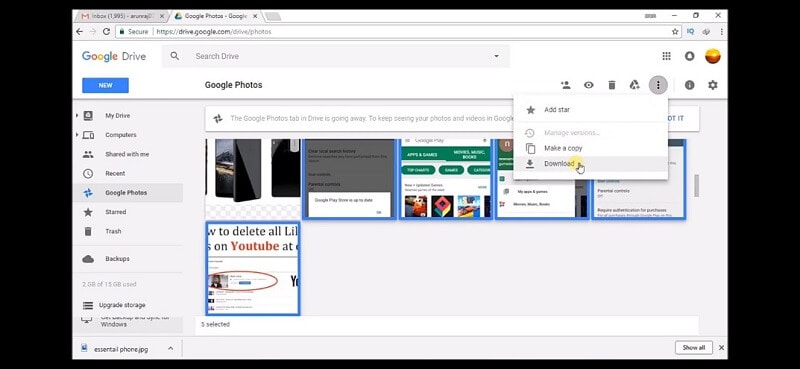
Step 4 All the photos that are saved in Google Photos will appear. Select the photo that you want to transfer.
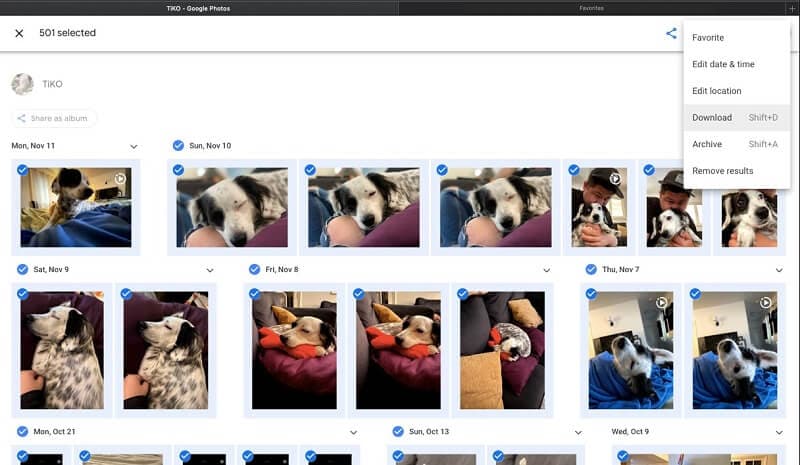
Step 5 Click on the three vertical dots on the top right corner and select the 'Download' option.
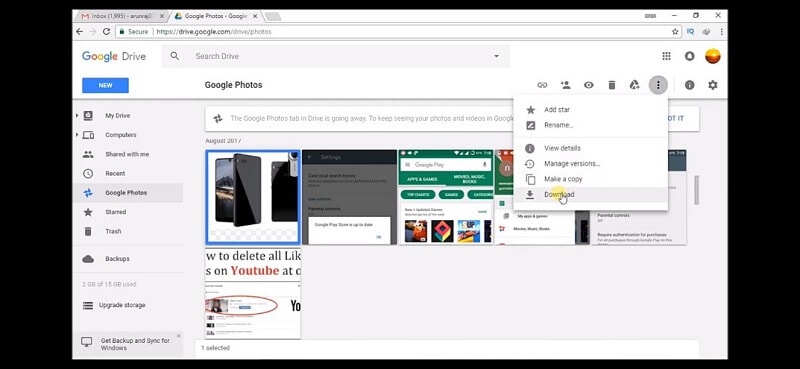
Step 6 You can also transfer multiple photos in this way. Select the photos by simultaneously clicking on the SHIFT key. Select three dots on the top right corner. Select the 'Download' option from the drop-down menu.
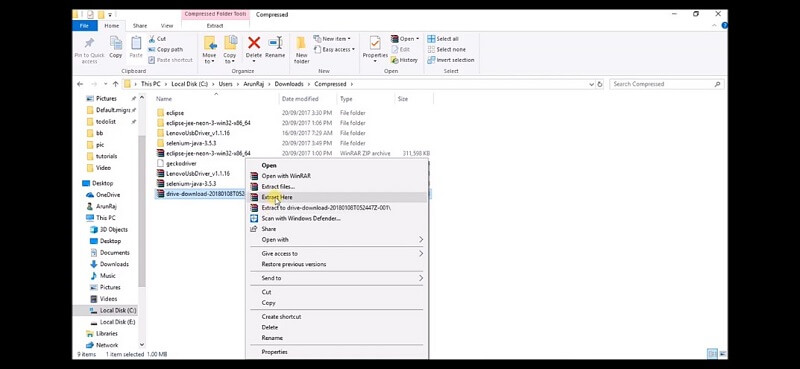
Step 7 Open the zip folder in which the photos are saved. To access these photos& right-click on the file and select 'Extract Here'.
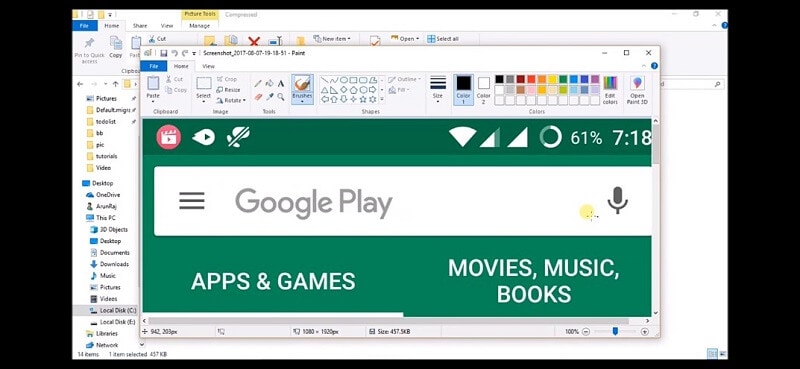
Step 8 Now& right-click on the photo that you want to open and select the 'Open with Paint' option.
Your image will open in the paint window.
Conclusion
Hopefully& this article was a great help. Transfer of photos from Google Photos to your mobile or computer is a very fast and easy process. The safety and management of your data are in your hands. It is always wise to have an organized folder of your photos safe on your computer. All you need is proper information on how to manage your photos. Handling and managing photos is a matter of great concern today. This article will help you to manage your Google photos in a very effective manner. You can manage photos on Android& iPhone& or a computer with great ease. Make sure to sync your photos to avoid any loss of your precious photos.

 100% Secure