Without a doubt& Apple is top-notch with software interfaces& but as you probably know& it stumbled a bit in the past in terms of cloud storage & photo management. However& with the launch of iCloud in 2011& the tides have turned. iCloud Drive lets you save your files& share& and access from anywhere. You can also access your iCloud account from your Windows PC. In iCloud& you can safely store videos& music& photos& and other file types. When you sign up on iCloud& you get 5GB of FREE storage; you can upgrade your plan for iPhone& iPod& or Mac at a nominal fee. The system requirements for running iCloud is iOS 13 and above. You can also access your data stored on iCloud via the web browser iCloud.com.
In this article& we talk about how to transfer photos from one iCloud to another on iPhone& Mac& and Windows PC. So& without wasting any time& let’s get on with it:
Table of Contents
Part 1: Transfer One iCloud Account to Another on iPhone using iCloud Photo Library
The best approach to transfer data from iCloud to another iCloud is using the iCloud Photo Library. You’ve to make a couple of clicks& and all your photos& videos& and other files will be moved to another iCloud. And& here& in this tutorial& we put forth the step-by-step guide& so& let’s check out:
Step 1: In this step& you need to open the “Settings” by clicking the gear-like icon in the home screen of your iPhone.
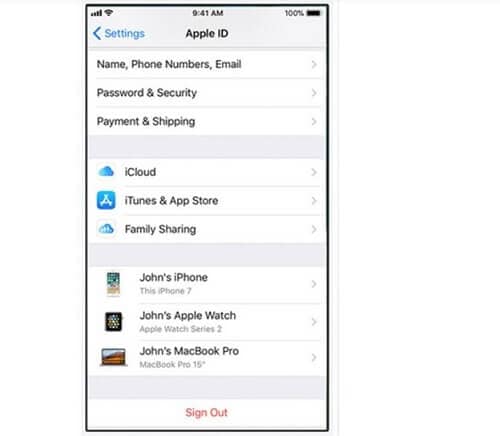
Step 2: After that& you need to tap “Name/Apple ID&” move down and tap “Sign Out”
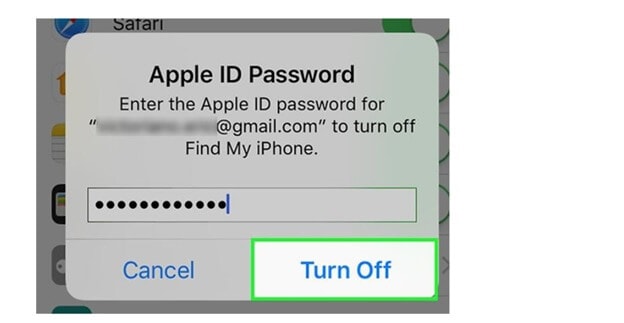
Step 3: From step 2& a pop-up box will appear& there you need to enter your Apple ID password& then click “Turn Off.” After this& your “Find My iPhone” feature will be disabled& your device will not be found by the iCloud account.
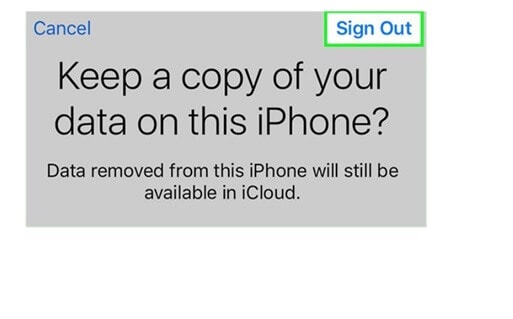
Step 4: Now& you’ve to slide the button that is present next to “Photos.” This will ensure the iCloud photos stay on your iPhone. After that tap “Sign Out.” You’ll be logged out of your iCloud account.
Step 5: Now& when you signed out of your iCloud& navigate your way back to “Settings > Name/Apple ID.” Enter new Apple ID & password& then tap “Sign In” at the upper right corner of screen.
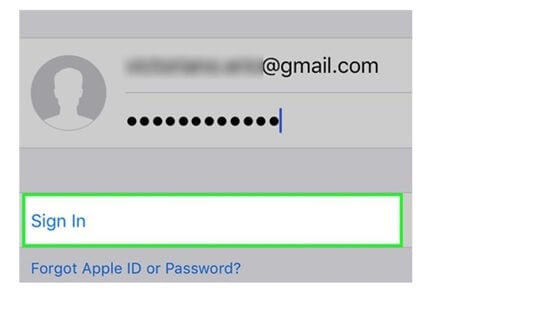
Step 6: Fill in your passcode& and finally click merge on the pop-up.

Step 7: Now& click on iCloud& and enable the Photos Library by clicking the “Photos” option. Then& the photos on your old iCloud account will be transferred to the new one.
The best aspect of this method is that it is FREE& you don’t have to buy any third-party software to perform the transfer. This approach is safe and secure& even for business files transfer.
Part 2: Transfer One iCloud Account to Another on Computer
Here& this step-by-step tutorial on how to move photos from one iCloud to another& on your computer.
Step 1: Go to iCloud.com& on the web browser of your PC. Sign-in using your current Apple ID credentials. You’ll come across an array of iCloud Apps& which includes the Calendar& Contacts& Mail. etc. Out of these& you’ve to opt for the Photos.
Step 2: Click on the photos to see all the pictures you’ve taken from your iPhone& saved on iCloud Via the Photo Library App
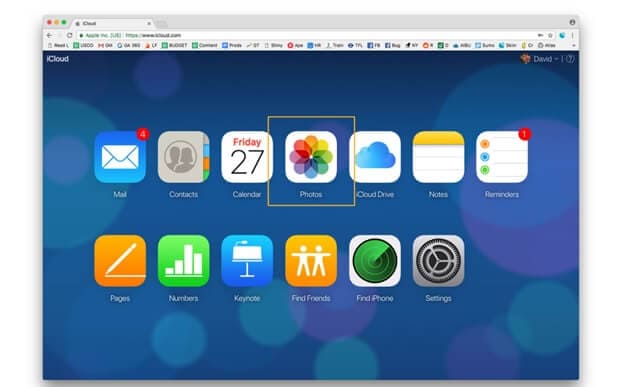
Step 3: Browse the photo you want to download& either click once to highlight or double-click to open.

Step 4: Either way& in the top-right corner& you’ll see several icons& and of them is “download.” You can select multiple photos or the entire folder to upload. The time taken will depend on the volume of images you’ll be transferring; it can vary from one fraction of a second to a couple of minutes.
Step 5: Sign out of your iCloud account and sign-in with the other ID (target iCloud Account).
Step 6: Now& simply move the data to your new iCloud ID.
Although this method is time consuming& but it is relatively easy compared to other ways to move stuff from one iCloud account to another. If you follow the steps one time& after that you'll learn easily by heart.
Part 3: Transfer One iCloud Account to Another on Mac
Similar to Windows PC& you can transfer data from iCloud to another iCloud through the Mac PC.
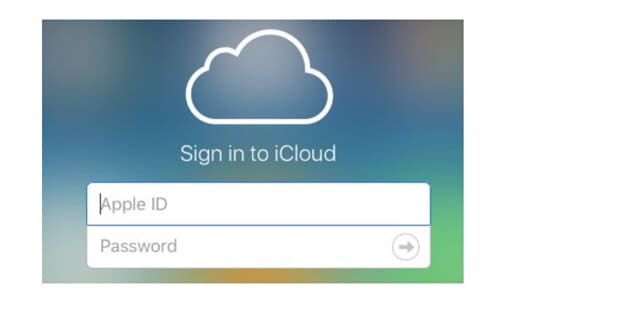
Step 1: First& log onto your Apple iCloud ID on the web browser. Download the photos you want to transfer to the other iCloud account. All the photos will be downloaded on your Mac. Make sure you download the photos to a dedicated folder& otherwise you’ll have a hard time in locating the pictures from the download section.
Step 2: In this step& you need to sign out of the Apple iCloud ID.
Step 3: Now& log-in with your new Apple ID. Using the credentials of the new ID.
Step 4: You’ve signed-in for the first-time& you’ll see everything empty.
Step 5: Click on the folder icon& and a blank folder will be created& and then choose a descriptive folder name. Typically& like summer vacation photos& honeymoon pics or other names that tells you about the folder is about.
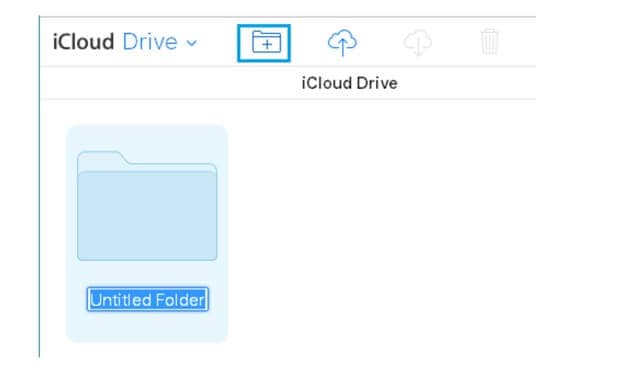
Step 6: Double click on the folder where you want to move the photos to. Click on the upload icon to start adding photos to your new Apple iCloud.
It will take some time for the pictures to get uploaded on your new iCloud account. Once done& login the new iCloud ID& and check whether the photos are there or not.
Conclusion
So& in this article& we tried free ways to transfer photos from one iCloud account to another& do you have any worthy method to recommend that doesn’t involve the use of a third-party tool& share with this via the comment section below:


 100% Secure