
If you are a business user& then most probably& you will be aware of the fact that OneDrive is an integral part of Windows 10. In case you don’t know& OneDrive is an efficient& safe& and secure cloud storage solution for Windows 10.

OneDrive allows you to share your files across various devices.
Also& if you have some important files or documents which you can’t afford to lose& then OneDrive allows you to back up those files.
If you are new to OneDrive and want to know how to add OneDrive to File Explorer& then you have landed in the right place.
In case you already have OneDrive enabled on your PC& and you no longer want to continue using it& then this article will be quite helpful for you in that case too.
So& without delaying any further& let’s get started.
Table of Contents
Part 1. Free Tool to Access OneDrive in File Explorer
You may find it tricky to add OneDrive and remove it in your computer file explorer sometimes. If you have a Windows 10& the OneDrive file explorer is already placed there& but the removal would be hard to follow. If you have a computer with Windows 7 or earlier& or even a Mac& adding and removing OneDrive in file explorer& trust me& is not an easy job.
Before we dive in how to add or remove OneDrive to File Explorer on your PC itself& let me explain you a smart tool to help you with that by sparing 90% labor. It can help you:
- Upload& download& view any files or folders in OneDrive.
- Migrate between any 2 cloud drives including OneDrive& Dropbox& Google Drive& Amazon Drive& etc.
Now let's see how it works:
- Download Wondershare InClowdz by clicking either button below.
- When the OneDrive management tool is downloaded& open it& sign in with your account credentials (sign up first if you don't have any account).

- In the left column& click on the Management option& you can add any cloud drives like OneDrive& Dropbox& etc.
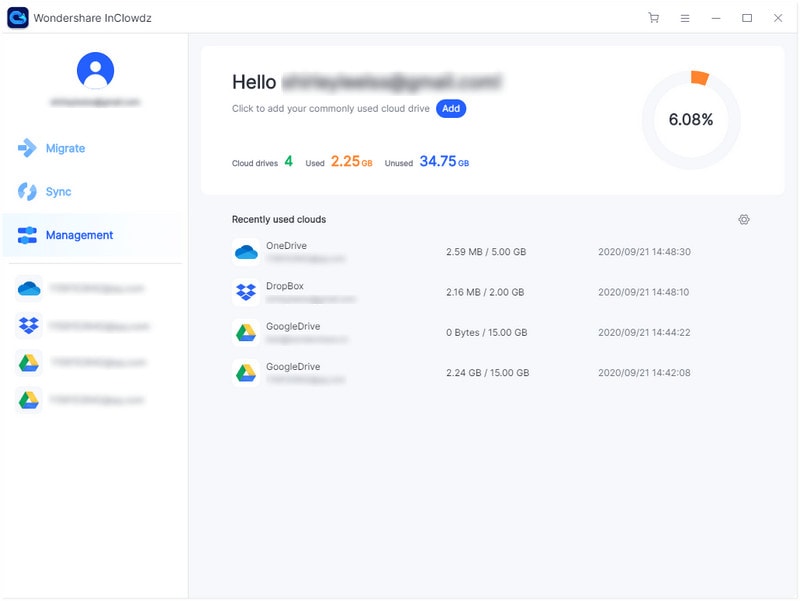
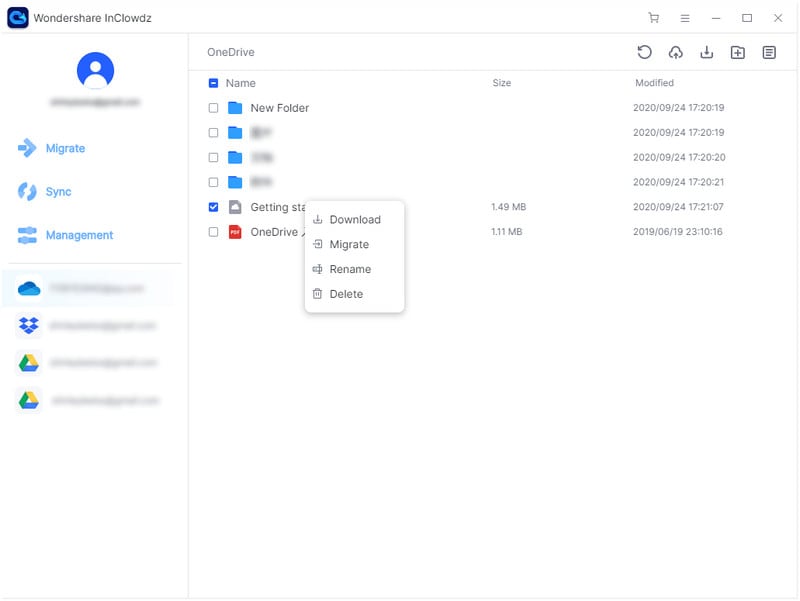
- When OneDrive account is added& you can click on the OneDrive option& and view& upload& download files in a File Explorer view.
Part 2. 4 Ways to Add OneDrive to File Explorer
First of all& this section is for all those willing to add OneDrive to File Explorer.
Now& the methods can vary for different devices& let’s discuss them.
2.1 How to Add OneDrive to File Explorer Windows 10
Now& this is the answer to “how to add OneDrive to file explorer windows 10”.
Step 1: Note that Windows 10 already comes with an in-built OneDrive application.
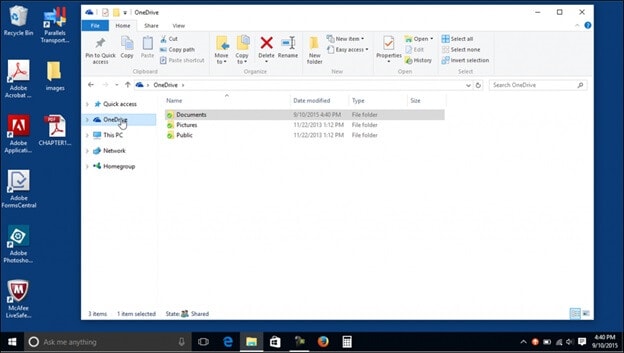
Step 2: Open your file explorer. On the left side& you will see OneDrive as a system folder.
Step 3: Then& after clicking on that System folder& you will have to follow all the onscreen instructions. The OneDrive app will guide you through the initial setup. After setup& you will see that a shortcut for OneDrive will be created in the File Explorer.
2.2 How to Add OneDrive To File Explorer Windows 7
To add OneDrive to file explorer on Windows 7& follow the following steps.
Step 1: Now& it is important to note here that Windows 7 does not come with an in-built OneDrive application& so you will be required to download it externally.
Step 2: Click on the following link - https://www.microsoft.com/en-in/microsoft-365/onedrive/download to install the OneDrive app on your PC.
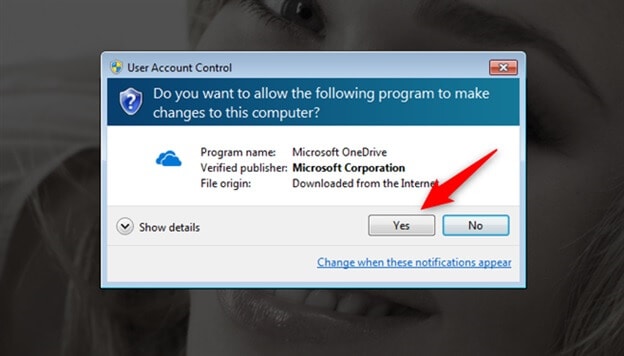
Step 3: After successful installation& you can now open OneDrive on your PC& then. To do the initial set up of OneDrive& you will be required to follow or go through the instructions that appear on your screen.
Step 4: After setting up OneDrive on Windows 10& go to the File Explorer. On the left side& you will see a shortcut for the OneDrive folder.

2.3 Add OneDrive on Mac
In case you want to add OneDrive on Mac& then go through the following steps.
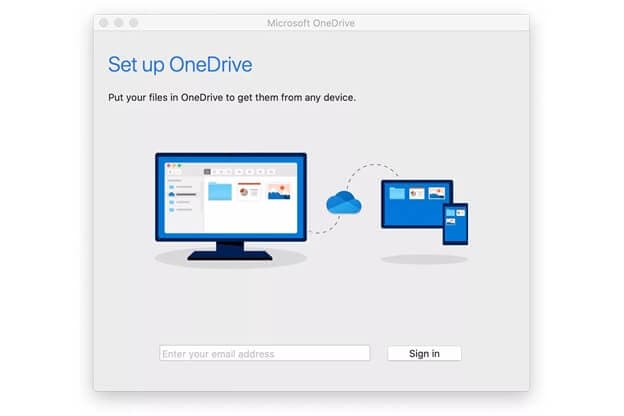
Step 1: Firstly& add OneDrive to explorer. Click this link https://go.microsoft.com/fwlink/?linkid=823060 to install OneDrive application.
Then after installation& you will be required to set up OneDrive on your PC& press cmd+Space. This will help in launching a Spotlight Query. Then you will be required to type OneDrive.
Step 2: Then& to set up your account& you should sign in to OneDrive.
Step 3: During Setup& there is a default location already set& but you can click on “Change Location”& to change this location.
Step 4: Now& wherever you want to save all your files of OneDrive& you can choose the location accordingly.
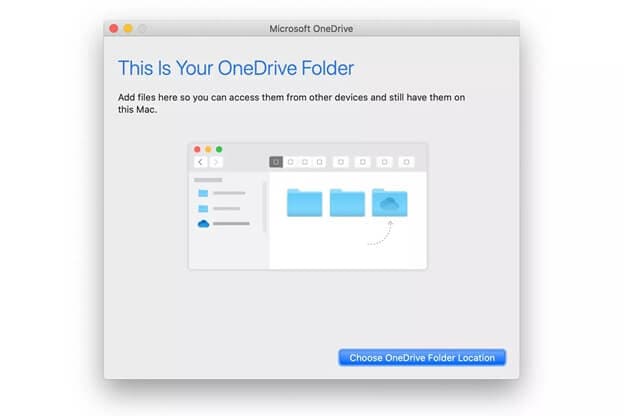
After clicking Next& you will be required to select the folders you wish to sync to your computer. Then click Next& now finally& you can have added OneDrive on your Mac.
2.4 Add OneDrive for Business to file explorer
Step 1: Firstly& open the Start Menu& go to “This PC” on Windows 10& or open “Computer” on Windows 7.
Step 2: Next& click on the highlighted arrow on the File Explorer window's top right side to expand it.
Step 3: Then& you should choose an unused drive letter. Copy the URL provided below&
Don’t forget to replace [FSUID] with your FSUID.
Finally& paste the link in the Folder field: https://fsu-my.sharepoint.com/personal/FSUID_fsu_edu/Documents.
Step 4: Next to Reconnect at sign-in and Connect using different credentials& you have to check all the boxes.
Step 5: Then& you are required to Enter your username& which is FSUID@fsu.edu& and your password& which is FSUID.
Step 6: After checking the box of “Remember my credentials”& click on Ok. Finally& click on Finish.
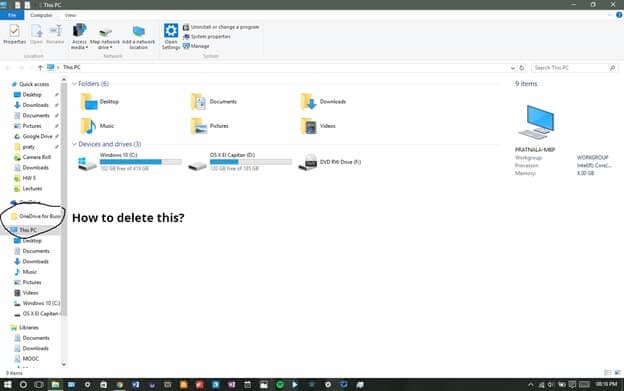
Now& below the Network Locations component of “This PC” or “Computer”.
You will also find a folder of OneDrive for Business on the left side of your File Explorer.
Part 3. 2 Ways to Remove OneDrive from File Explorer
3.1 Remove OneDrive from File Explorer
Now& to remove OneDrive from File Explorer&
Step 1: Go to the Control Panel& then click on Programs.

Step 2: Then& you should click on “Uninstall a Program or Settings”.
Step 3: Then& click on “Apps”& then click on “Apps & Features”.
Then& you can select the “Microsoft OneDrive” app.
After clicking on it& you should click on the “Uninstall” option.
3.2 Remove OneDrive for Business from File Explorer
Step 1: To remove OneDrive for business from File Explorer& first of all& right-click on “OneDrive” (company name icon)& then click on “Exit”.
Step 2: Now& you will be required to click the “Windows+R”& button& the Registry Editor will open& enter Regedit > OK.
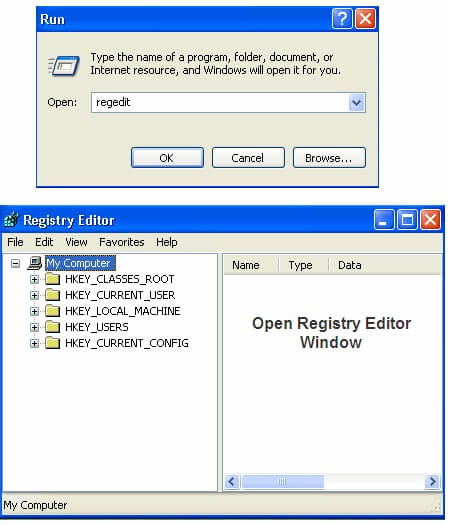
Step 3: Then& finally go to HKEY_CURRENT_USER& then choose Software and select “Microsoft”& then “OneDrive”& then choose “Accounts”. Finally& click on “BusinessX”.
Step 4: You will see many business accounts. You should select one based on its userEmail value.
Then& after selecting that particular account& you should delete the complete folder& which comprises that key.
Step 5: Go to HKEY_CLASSES_ROOT > CLSID. Then& you should search “OneDrive” inside the folder.
Step 6: Now& you will notice one who has “OneDrive Company Name” as the default value.
Step 7: Now& you need to change the System.IsPinnedToNameSpaceTree value to 0 and click OK.
Conclusion
So& we have reached the end of this article. We hope that you found the article useful. Now& you can easily implement the steps that we have provided to “add OneDrive for business to file explorer” or “add OneDrive to file explorer windows 7 or windows 10”.
Share


 100% Secure