Before Google Drive came into the picture and hit it out of the park by providing 15 GB of online storage for free& there were others that reigned supreme& most notable of all being Dropbox. Dropbox was one of the pioneers in bringing cloud storage to the masses inexpensively by offering generous amounts of free storage along with paid tiers for those who needed more. Dropbox’s ease of use& features& functionality& and security made it a common name between consumers and businesses alike& who greatly benefitted from the online collaboration that Dropbox allowed at a time when online collaboration and document-sharing was practically unheard of.
Over time& Dropbox has evolved to allow various file types and has built features around some of them – most notable for consumers being the features it built around image formats. Dropbox allows you to upload your photos to the cloud for free up to your storage limit of 2 GB from all your devices& be it a computer or mobile. You can upload pictures from your phone’s camera or any other folder on your phone or computer automatically to your Dropbox. With the right configuration& this can serve you as either sync or a backup.
Table of Contents
How To Upload Photos To Dropbox From A Computer?
Image files are still files& just in a different format. So& uploading pictures to Dropbox from a computer follows the same path used to upload files to Dropbox. There are two ways to go about it& either from a web browser or through direct integration with File Explorer in Windows and Finder in macOS with its own pros and cons.
Upload to Dropbox Using Web Browser
Step 1: In a new browser tab& go to https://dropbox.com and sign in to your Dropbox account or create a new account (and then sign in).

Step 2: It is advised to keep your cloud storage organized well& so that retrieval of data is hassle-free and swift. After all& the purpose of online cloud storage is instant data access and retrieval when required. To that effect& create a new folder to upload photos to Dropbox and name it accordingly.
Step 3: Open this folder and leave the browser window open. From the Windows Task Bar& click the File Explorer icon to bring up your File Explorer. On macOS& click the Finder icon (typically the first icon from the left) in the Dock to bring up a Finder window. In either& navigate to where your photos are stored that you wish to upload to Dropbox.
At this point& it is important to know that currently& Dropbox provides only 2 GB of free storage. You need to take into account how much free storage you have in your Dropbox before you begin the upload process. For the Dropbox Basic users& it is ill-advised to be storing their entire photo library in Dropbox. It likely will not fit.
Step 4: Select the photos/ folder(s) of photos that you wish to upload to Dropbox and just drag them out of the file browser window and drop them in the Dropbox open in the web browser. Photos will be uploaded to Dropbox in time.
Upload to Dropbox Using Desktop Integration
Dropbox provides apps for both Windows and macOS that integrate Dropbox into the File Explorer in Windows and Finder in macOS. This allows for a seamless photo-transfer experience; Dropbox acts like local storage in this case.
Step 1: Download the Dropbox app from https://www.dropbox.com by visiting the URL in your web browser and clicking the Download button at the top-right corner on the website. The link will download the correct installation package for your operating system.
Step 2: Install the app on your computer by giving the required permissions.
Step 3: When Dropbox is installed& it will ask you for Dropbox account credentials to sign you in.
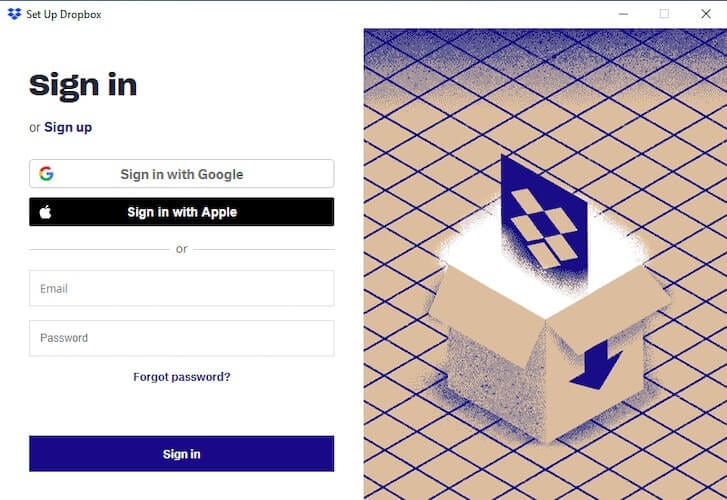
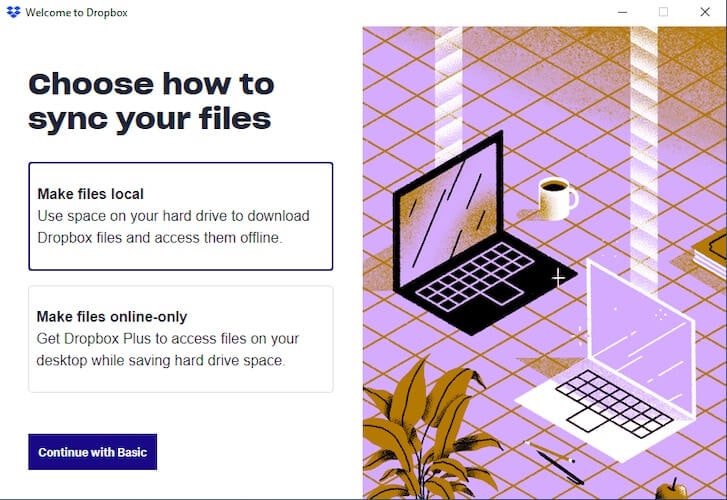
Step 4: In the next screen& if you are on the free plan& you will be asked if you want to continue Dropbox Basic plan or want to use the Dropbox Plus plan to access more features. Choose according to your desire and move to the next step.
Step 5: When all is done& Dropbox will be integrated into the File Explorer inside the Windows operating system or Finder sidebar in macOS if you are using macOS.
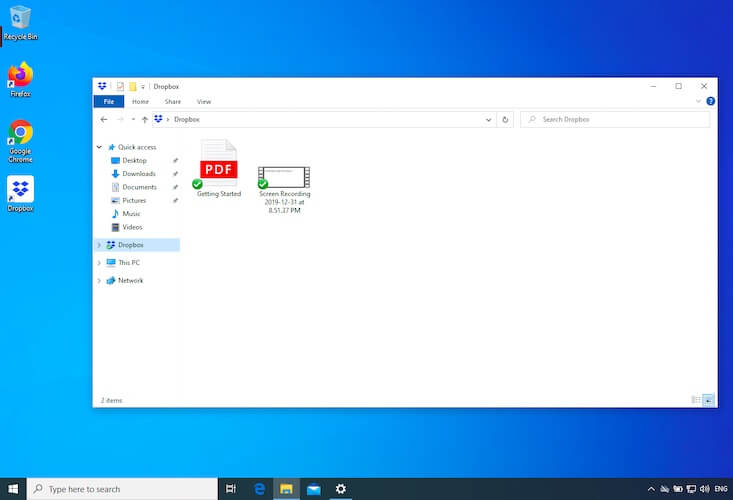
You can now upload photos to Dropbox as you copy or move any other files and folders on your computer. Anything that you put inside the Dropbox folder on your computer will be synced to the Dropbox cloud.
Upload Photos On Dropbox Using Wondershare InClowdz
Wondershare InClowdz is a cloud service that allows you to sync data between clouds& migrate data from one cloud account to another& and manage your data in the cloud from within InClowdz easily and intuitively. You can use Wondershare InClowdz as your one-stop solution for all your cloud storage management needs as well as to upload files and photos to Dropbox and many more cloud accounts easily using the Management feature.
Migrate, Sync, Manage Clouds Files in One Place
- • Migrate cloud files such as photos, music, documents from one drive to another, like Dropbox to Google Drive.
- • Backup your music, photos, videos in one could drive to another to keep files safe.
- • Manage all cloud drives such as Google Drive, Dropbox, OneDrive, box, and Amazon S3 in one place.
- • Sync clouds files such as music, photos, videos, etc., from one cloud drive to another.
Step 1: Open a new tab in your web browser and visit InClowdz here:
Sign in or create a new account if you don’t have one.
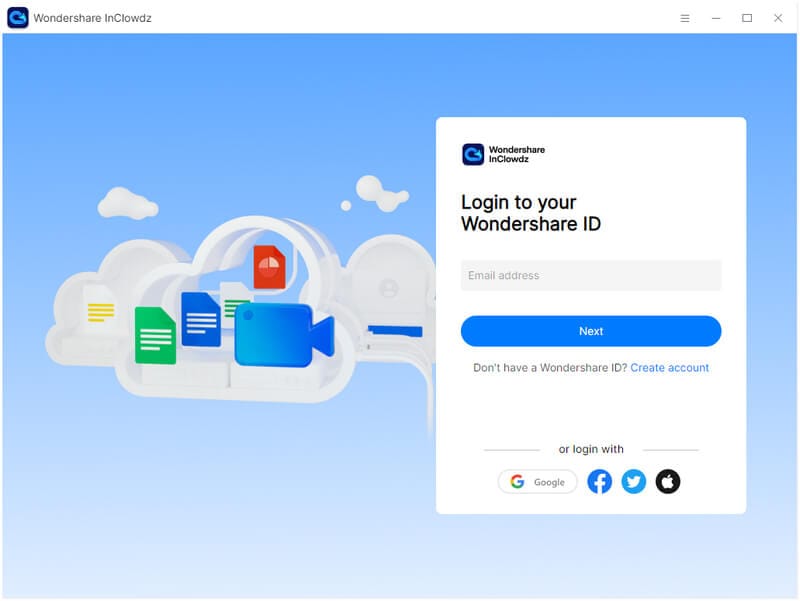
Step 2: You will find the Management module in the menu on the right-hand side. Add your Dropbox cloud account using the Add Cloud Drive option if this is the first time you are using InClowdz. If you had previously used this feature and Dropbox& the account will be listed here.
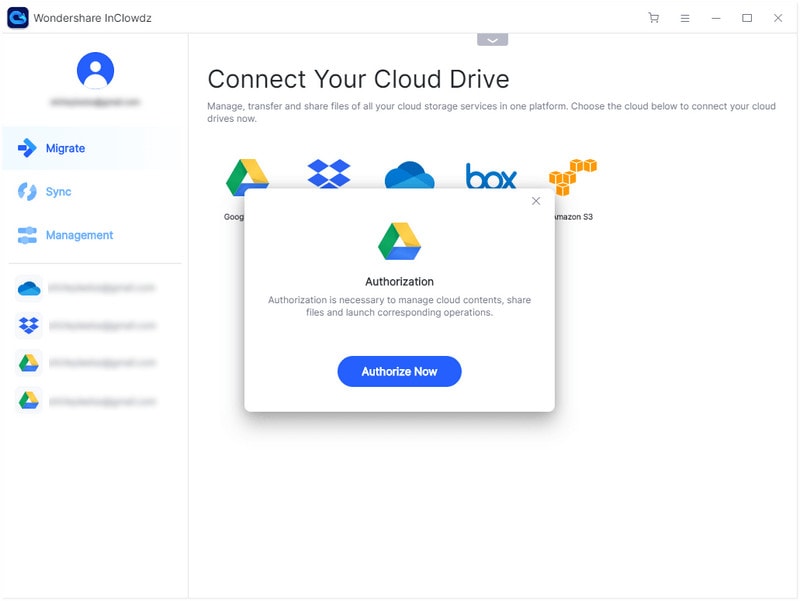
Step 3: Authorize InClowdz to access your Dropbox:
This is how Wondershare InClowdz looks after adding a few cloud accounts to manage:
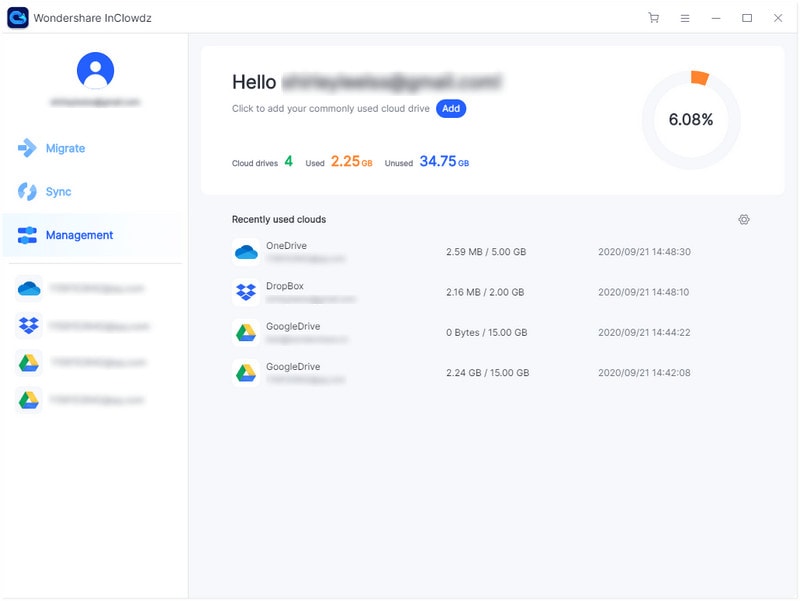
Step 4: Select Dropbox from the list of accounts (in case you added several cloud accounts) and start uploading your photos to Dropbox using InClowdz:
How To Upload Photos From A Phone To Dropbox?
Dropbox works very well to upload photos from a phone. You can use Dropbox to store your precious memories of your device in the cloud so that they are not only safe and secure but accessible across the spectrum of devices you own and even shareable with friends and family& safely& securely& and even privately.
Step 1: Download the Dropbox app from your respective operating system’s app store& App Store on iOS& or Play Store on Android.
Step 2: Sign in to the app. The app is now ready to be used.
Step 3: Open the photo gallery on your device – Google Photos on Android or Photos app on iOS.
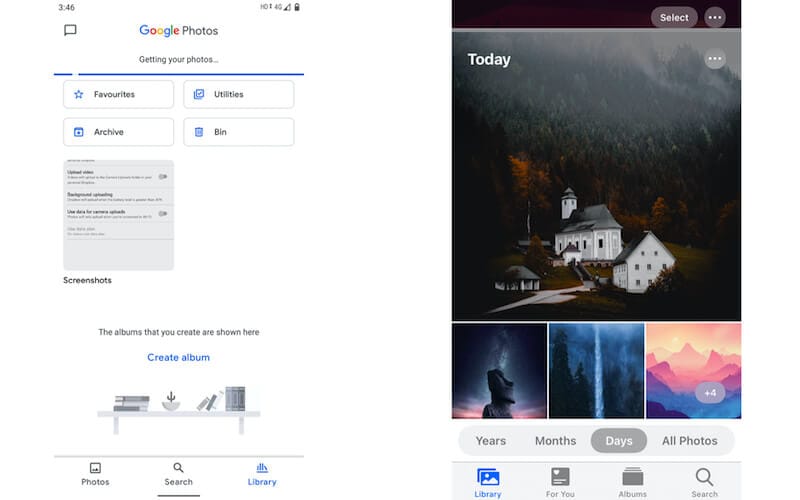
Step 4: Select the photos you wish to upload to Dropbox by long-holding anyone and tapping the others. To select all in one go on Android& tap the date on subsequent photos after tapping the first one to select that group. In iOS& you cannot upload more than one photo at a time from the Photos app to Dropbox.
Step 5: Tap the Share button in the operating system to bring up the respective share sheets& and select Add to Dropbox.
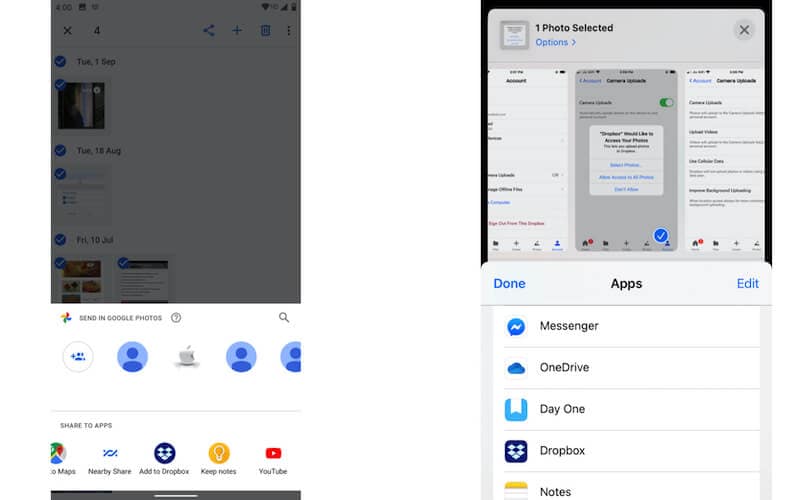
Step 6: Choose the location in Dropbox and proceed to upload photos from your phone to Dropbox.
How to Upload Photos to Dropbox Automatically?
If you want to have photos uploaded to Dropbox automatically with no further intervention& Dropbox allows you to do that as well. When you first installed Dropbox on Android or on iOS& Dropbox would likely have prompted you about uploading photos automatically& and you may have skipped it at the time. Here is what you need to do to set Dropbox to upload photos from your phone to Dropbox automatically.
Step 1: In iOS& open the Dropbox app and tap Account. In Android& open the Dropbox app and tap the hamburger menu at the top left corner& and select Settings.
Step 2: In iOS& scroll down to select Camera Uploads option under Features. In Android& do the same.
Step 3: In iOS& enable the option. You may get a prompt to allow permission. Once done& you will see three more options. The primary option is enabled& and all your photos will be uploaded to Dropbox up to the limit of your storage plan automatically. You can choose to upload videos as well& and if you would like the upload to be done even if the device is using cellular data. You may want to provide Dropbox with your location to optimize uploads if you will.
In Android& do the same. Similar self-explanatory options exist in Android to help you optimize and control your automatic photo uploads to Dropbox.
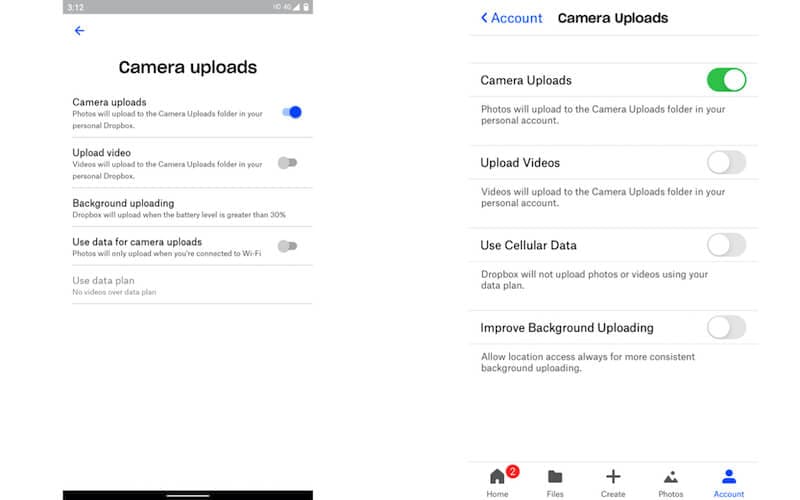
All photos uploaded to Dropbox automatically are going to be found under a folder called Camera Uploads in the root of your Dropbox. Access the folder by selecting Files from the hamburger menu in Android or selecting Files from the tab at the bottom in iOS.
Conclusion
Dropbox makes for an excellent photo backup solution in the cloud. Photos can be uploaded automatically as you click them on your phone& and with zero intervention once set up. Using the flawless integration in Windows and macOS& you can access your cloud storage on your computer as if it were local storage& and upload photos from your computer to Dropbox as easily as copying or moving files is in your preferred file browser.


 100% Secure