We are in an age known as the “social media” age. As a result& we take more pictures today than in any other period in history. This is quite interesting& but then it leaves us with a huge need& storage space.
Because of this need& it is imperative to sync photos to Google Drive. However& not everyone knows how to do this. Just in case you fall into this category& we are here to help you. In this post& we will show you how to backup photos to Google Drive on different devices. Without further ado& let’s dive straight in.
Table of Contents
Part 1: Why Backup Photos to Google Drive?
It is almost as if we can’t do without photos these days& using them on social media to share them with friends and family. They have become an integral part of our lives since they help us to freeze important memories in time.
There are lots of methods to help you back up photos these days. A few of these methods include:
- SD cards.
- Camera memory.
- Smartphone storage.
- External hard drives.
- PC local drive.
- Cloud storage like Google Drive.
These different methods have peculiarities and different levels of efficiency. However& of all the methods listed above& using Google Drive is the most efficient. This begs the question& “why backup photos to Google Drive?”
Easy sharing
Asides from sharing memories with loved ones& we share photos for work purposes as well. One way to share photos is via Gmail& but then& there are restrictions. Gmail can only allow you to share files that aren’t up 25MB in a single email.
Because of these restrictions& it is wise to find an alternative method. This leaves us with cloud storage like Google Drive. This method makes it easy and very quick too.
Maintaining picture quality
It is always important to maintain the quality of pictures& especially when using them for print. Any other method of sending photos over a distance is likely to reduce image resolution. However& with Google Drive& the picture quality remains intact.
Safekeeping
More than anything else& we need cloud storage such as Google Drive to protect our photos. Store them here& and you hardly have to worry about losing the photos. There is also no risk of malware or viruses. To access these photos from any device& simply login to Google Drive.
Part 2: How to Backup Photos to Google Drive on the Computer?
Have you been looking for how to sync photos to Google Drive on your computer? We will be solving this problem in this section. There are three easy ways to do this& and they are:
- Drag and drop method.
- Using the new button.
- One-click method.
We understand that this must seem like gibberish to you. This is why we have decided to break down each of these methods into steps. Check them out below:
Drag and drop method
This method is pretty simple and straightforward. All you need to do here is to open the location of the photos. After this& you need to select them then drag them into Google Drive. Check the steps below for better understanding:
Step 1 – Open Google Drive in your favorite browser.
Step 2 – If you are not logged in already& provide your Google Drive login details& and press enters to proceed.
Step 3 – Go to your file explorer from your desktop and navigate the photos you want to backup.
Step 4 – Select all the photos you plan to back up and drag them using your mouse pointer to the Google Drive window.

Step 5 – Once you drop the files here& they will begin to upload automatically.
That’s it; the drag and drop method is straightforward. Check out the next method below.
The New Button
If you prefer to take a longer route& then you can make use of this method. Most people that use this method of “Google Drive photos sync” hate the idea of “drag and drop.” If you fall into this category& here’s how to use the new button.
Step 1 – Launch your favorite web browser and open Google Drive.
Step 2 – Just like under the “Drag and drop” method& you should log in if you aren’t logged in already.
Step 3 – Look at the pane on the left of the window. You will see the “New” button sitting just beneath the Google Drive logo. Click on this button to reveal several options. You can click on “File” to open the file browser pop-up. From here& you can select the photo or photos that you want to backup.

Step 4 – After selecting the photos& click on “Open” and the files will begin to upload.
Step 5 – If the pictures are in a single folder& you can click on “Folder.” The file browser window will pop-up. Navigate to the location of the folder and select it. Click on “Open” and it will begin to upload.
You will see a progress report of the upload at the bottom-right section of the Google Drive Window. There will also be a notification here to tell you when the process is complete.
One-click method
How would you like to do a “Google Drive photos backup” using a single click? If you are like us& then this idea must be tantalizing. It is easy& straightforward& and rapid. All you need to do is download Wondershare InClowdz.
This app makes it easy to migrate photos from your computer storage to cloud storage. It also helps you to migrate data between cloud drives and sync cloud drives. Let’s show you how to use Wondershare InClowdz to backup photos to Google Drive.
Migrate, Sync, Manage Clouds Files in One Place
- • Migrate cloud files such as photos, music, documents from one drive to another, like Dropbox to Google Drive.
- • Backup your music, photos, videos in one could drive to another to keep files safe.
- • Manage all cloud drives such as Google Drive, Dropbox, OneDrive, box, and Amazon S3 in one place.
- • Sync clouds files such as music, photos, videos, etc., from one cloud drive to another.
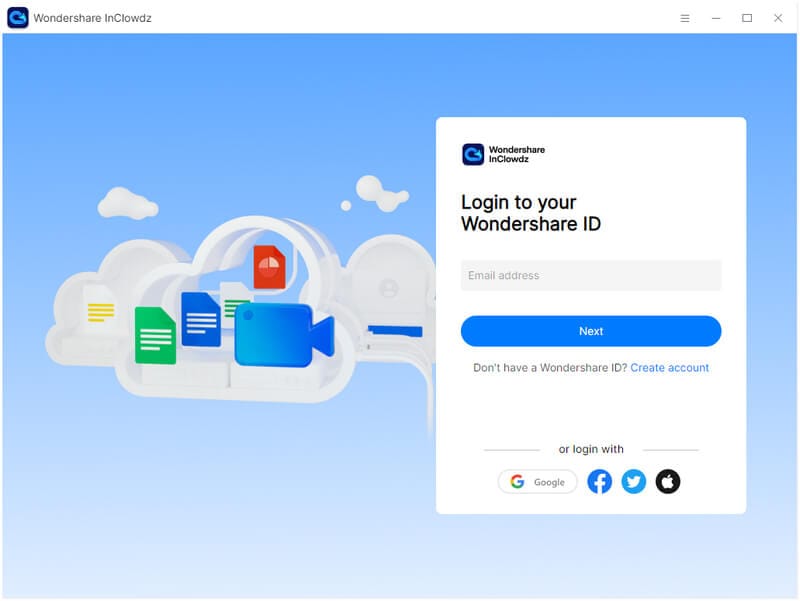
Step 1 – Download Wondershare InClowdz and install it on your computer.
Step 2 – Create a new account and log in using the appropriate details. If you already have an account& then you can go ahead and log in.

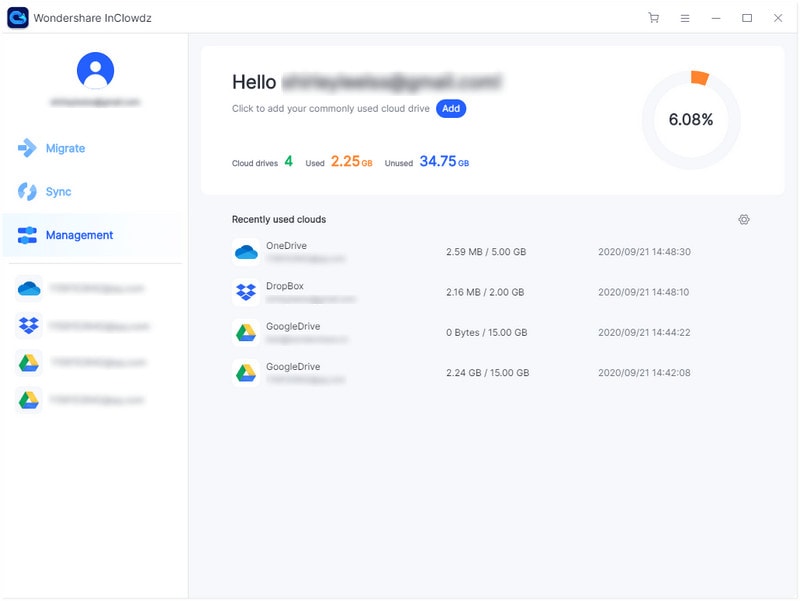
Step 3 – Click on Management in the left pane of the InClowdz page.

Step 4 – Add your Google Drive account and authorize the drive by following the on-screen instructions.
Part 3: How to Backup Photos to Google Drive on the iPhone
If you own an iPhone and have a Google Drive account& here’s how to backup photos to Google Drive. You can do this manually or automatically. The manual method requires you to upload the photos when the need arises. On the other hand& the automatic method syncs your photos app on iOS to Google Drive.
Here’s how to backup photos to Google Drive on an iPhone:
Step 1 – Download Google Drive from the App Store and install it on your device.
Step 2 – Launch the app& then log in using your Google Drive using the appropriate details. When you do this& you will see a list of all the folders in your drive.

Step 3 – Tap on the folder where you want to store the photos. If you need a new folder& tap on the “new” icon (plus sign) at the bottom-right screen.
Step 4 – Open the folder and tap on the plus sign again to see a list of options.
Step 5 – Tap on “Upload”& allowing you to move files into Google Drive from your iPhone.

Step 6 – You will get a prompt on your screen asking you to select the file you need to upload. Tap on “Photos and Videos.” This will open your photo album& and you can pick the photos that you need to upload.
Step 7 – After selecting the photos& tap “Upload” to begin the process. The process should take a few minutes& depending on the number and size of the photos.
Part 4: How to Backup Photos to Google Drive on Android
It is pretty easy to backup photos to Google Drive on Android. This is because Google has made important strides in making this process simple. You don’t even have to download Google Drive on Android devices. It comes pre-installed.
In fact& once you have set up your email on the device& it logs you into Google Drive automatically. Backing up photos to Google Drive on Android requires you to upload the photos. Here’s how to upload photos to Google Drive on Android.
Step 1 – Go to your home screen and launch Google Drive.

Step 2 – Tap on the plus sign on the home screen of Google Drive.

Step 3 – Your action in step 2 reveals a set of options& including the upload icon. Tap on this icon.

Step 4 – Navigate to the location of the photos that you need to backup.

Step 5 – To select several images& hold down on one until you see the checkmark. After this& tap on all the images that you need.
Step 6 – Tap “Open.”
After doing this& the photos will begin to upload. There you are. You have just backup your photos to Google Drive through your Android device.
Conclusion
We are glad to inform you that you now know how to backup photos to Google Drive. This post has shown several methods of doing this& including Wondershare InClowdz. Try them out& and let’s know which one suits you best.


 100% Secure